Part of the opening cutscene for Genie's summoning.
Summon is a command menu option used to activate the gameplay mechanic of summoning allies to help you in combat in Kingdom Hearts and its Final Mix version. It was originally listed under the Magic menu, the 1.5 ReMIX release moved it to the fourth slot in the menu (with the options there being moved to the Reaction Command space). Summoning requires a full party consisting of the player character (Sora), and two conscious party members, he also has to be standing, and needs the required MP for each specific summon.
All summons (except one) replace the active party members until their time runs out. A summons' time can be found out by multiplying their MP (equal to Sora's max MP + the no. of party members with the Cheer ability equipped) by either 5 (Bambi and Dumbo) or 8.3 (Simba, Genie, Mushu). Using a summon's attacks either costs MP or causes their timer to reduce faster. When their time runs out they automatically withdraw, although they can also be dismissed prematurely. Each summon spell can only used once per battle. Summoning is also disabled in the Olympus Coliseum's arena fights, and can otherwise not be used outside of combat. You also are unable to exit an area while a summon is still active.
Summons are mostly acquired by handing in summon gems to the Fairy Godmother in Merlin's house. Summon gems are the crystallized form of one of the inhabitants from a world consumed by the Heartless, which they 'survived' thanks to the strength of their hearts. The Fairy Godmother uses her magic to restore their spirit forms and release their powers, thus making the summon creatures available. Her magic can restore their spirit, allowing Sora to call them to his aid in battle. Out of a total of six summons two actually join you of their own volition after completing their world.
Note that in a practical use the offensive summons are generally useless for the early to mid game, due to how their damage and time limit is directly tied to Sora's maximum MP. As your capacity becomes much larger thanks to increased accessory slots, and better accessories and weapons, so does your direct damage output for summons to the point where they can destroy non-boss Heartless within seconds.
Summons[]
Simba[]
| Charge | Damage |
|---|---|
| 1 | 22 + (max MP × 2) |
| 2 | 24 + (max MP × 2) |
| 3 | 26 + (max MP × 2) |
| 4 | 28 + (max MP × 2) |
| 5 | 300% + (max MP × 5) |
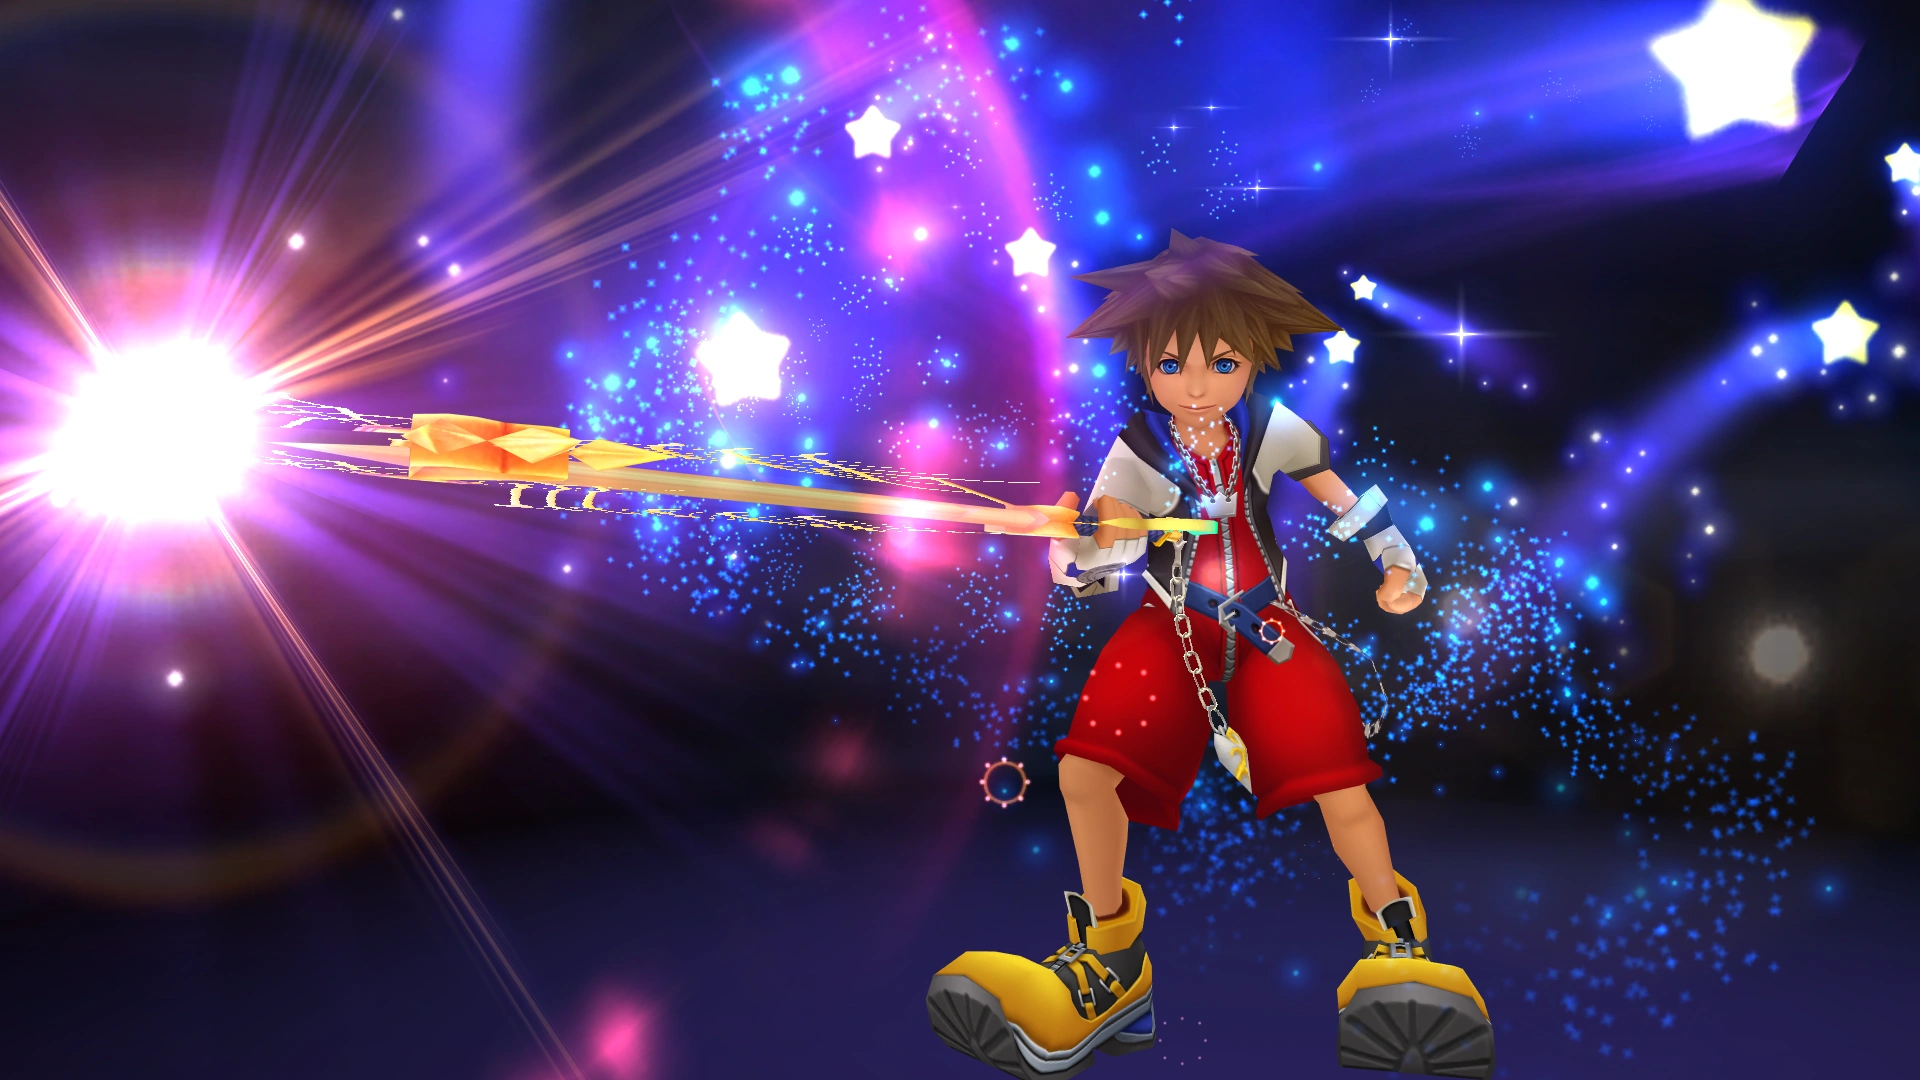
Simba is the first summon acquired by turning in the Earthshine gem you receive from Leon, after talking to him in Traverse Town's Secret Waterway. Simba costs two MP to summon and uses the Charge Up command, which when released automatically triggers Proud Roar. The way Charge Up works is that you are forced to stand still and wait for Simba's charge bar to fill, signified by the flashes of light on the Keyblade. It can charge up to a maximum of five times, although if you take damage at any point while charging it is canceled entirely. Due to this you likely have to either find a spot out of reach from enemies, or settle for partially charged attacks. Simba's maximum charge level is also half of his max MP, up to five charges (so you need ten MP to use him to the fullest).
The Simba summon with a fully charged Proud Roar.
Proud Roar does have a balancing factor, first of all it hits every enemy on the entire map no matter what, making it extremely useful when overwhelmed. Secondly it is capable of dealing immense amounts of damage if you manage to fully charge the attack. At one to two charges it deals no special effects, at three to four it has a critical effect and can also stun enemies, at maximum charge it changes to the gravity element to deal an immense amount of damage. Due the way gravity works it affects a percentage of enemies current HP, and due to the high number you can deal obscene amounts of damage to late-game bosses even if they are highly resistant thanks to their high HP numbers. Simba's summon does not also automatically cancel if his MP reaches zero while you are still using Charge Up.
Final Mix also changed the MP cost of Proud Roar from one to two MP.
Genie[]
| Attack | Damage |
|---|---|
| Red/blue sphere | 10 + (max MP × 2) |
| Yellow sphere | 2 + (max MP × 2) |
| Thunder | 14 + (max MP × 2) |
| Gravity | 20% + (max MP × 5) |
| Stop | (In seconds) 2 + (max MP) |
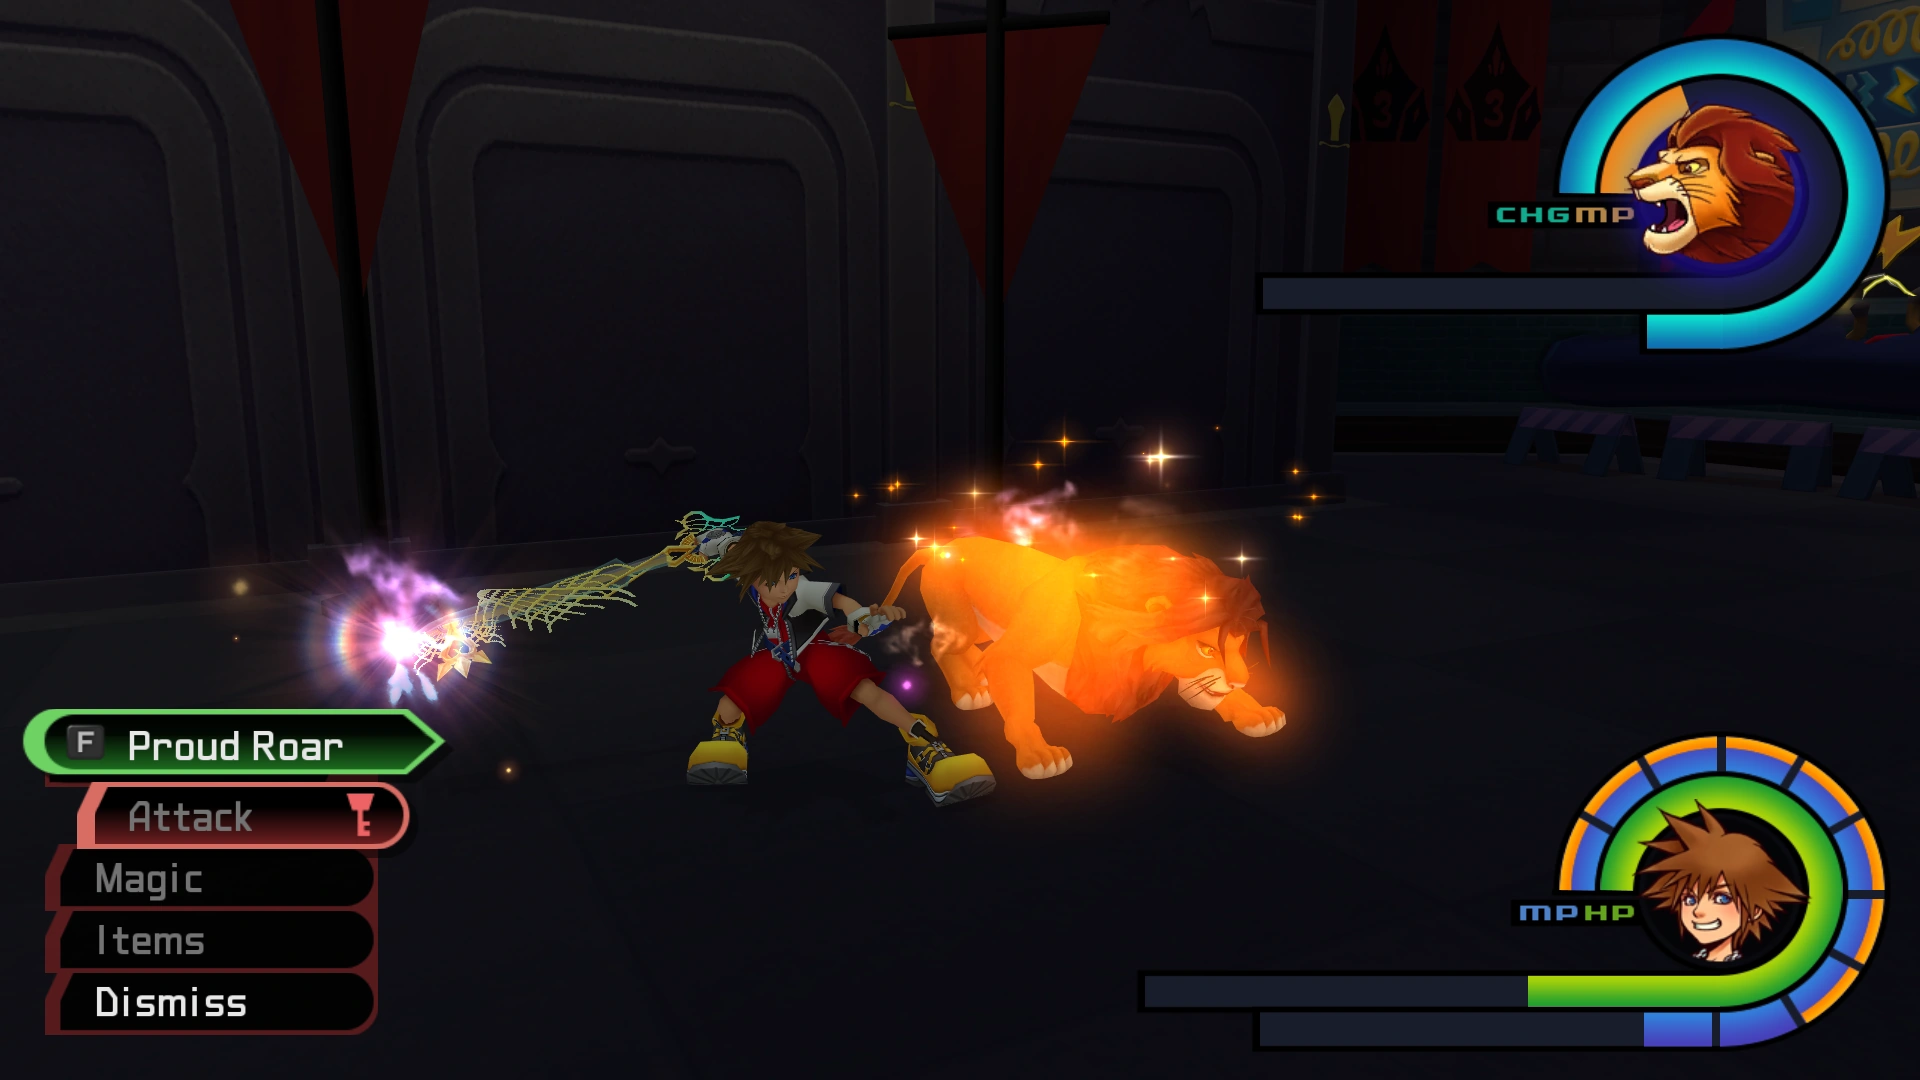
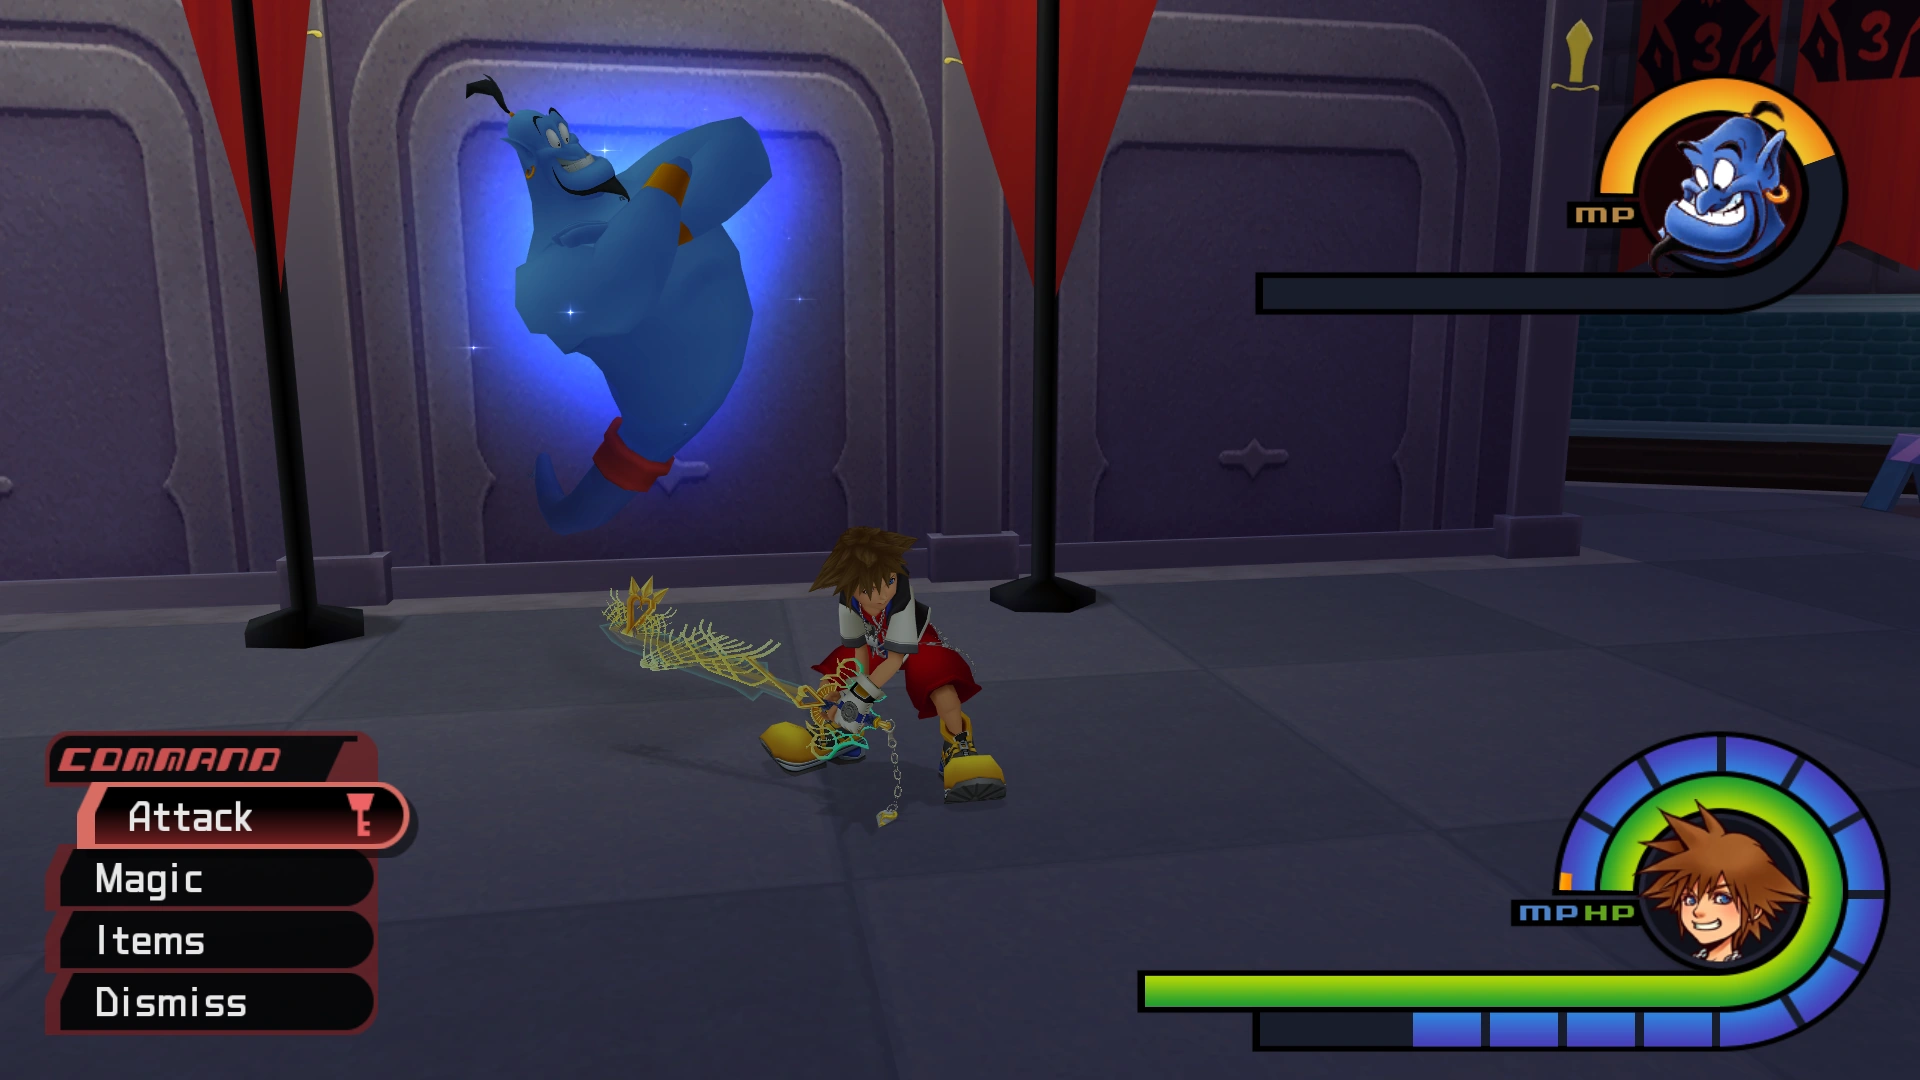
The Genie summon.
Genie is the second summon acquired, shortly after sealing the Keyhole in Agrabah. He joins Sora and his friends as a favor to Aladdin to try and help find Jasmine. He costs two MP to summon and attacks through the Showtime command, which costs one MP. Showtime is only available by using lock-on, which when used turns the reticle into Genie's face which then appears on all enemies in range. Using it causes Genie to rapidly cast a continuous number of varying spells, including a single bolt of Thunder, Gravity, Stop, and three different types of energy spheres. The yellow type stuns enemies, the blue ones are shot five times, and the red have no special effect.
Genie works best when used against larger groups of Heartless, attacking them all randomly with his wild variety of different spells.
Bambi[]
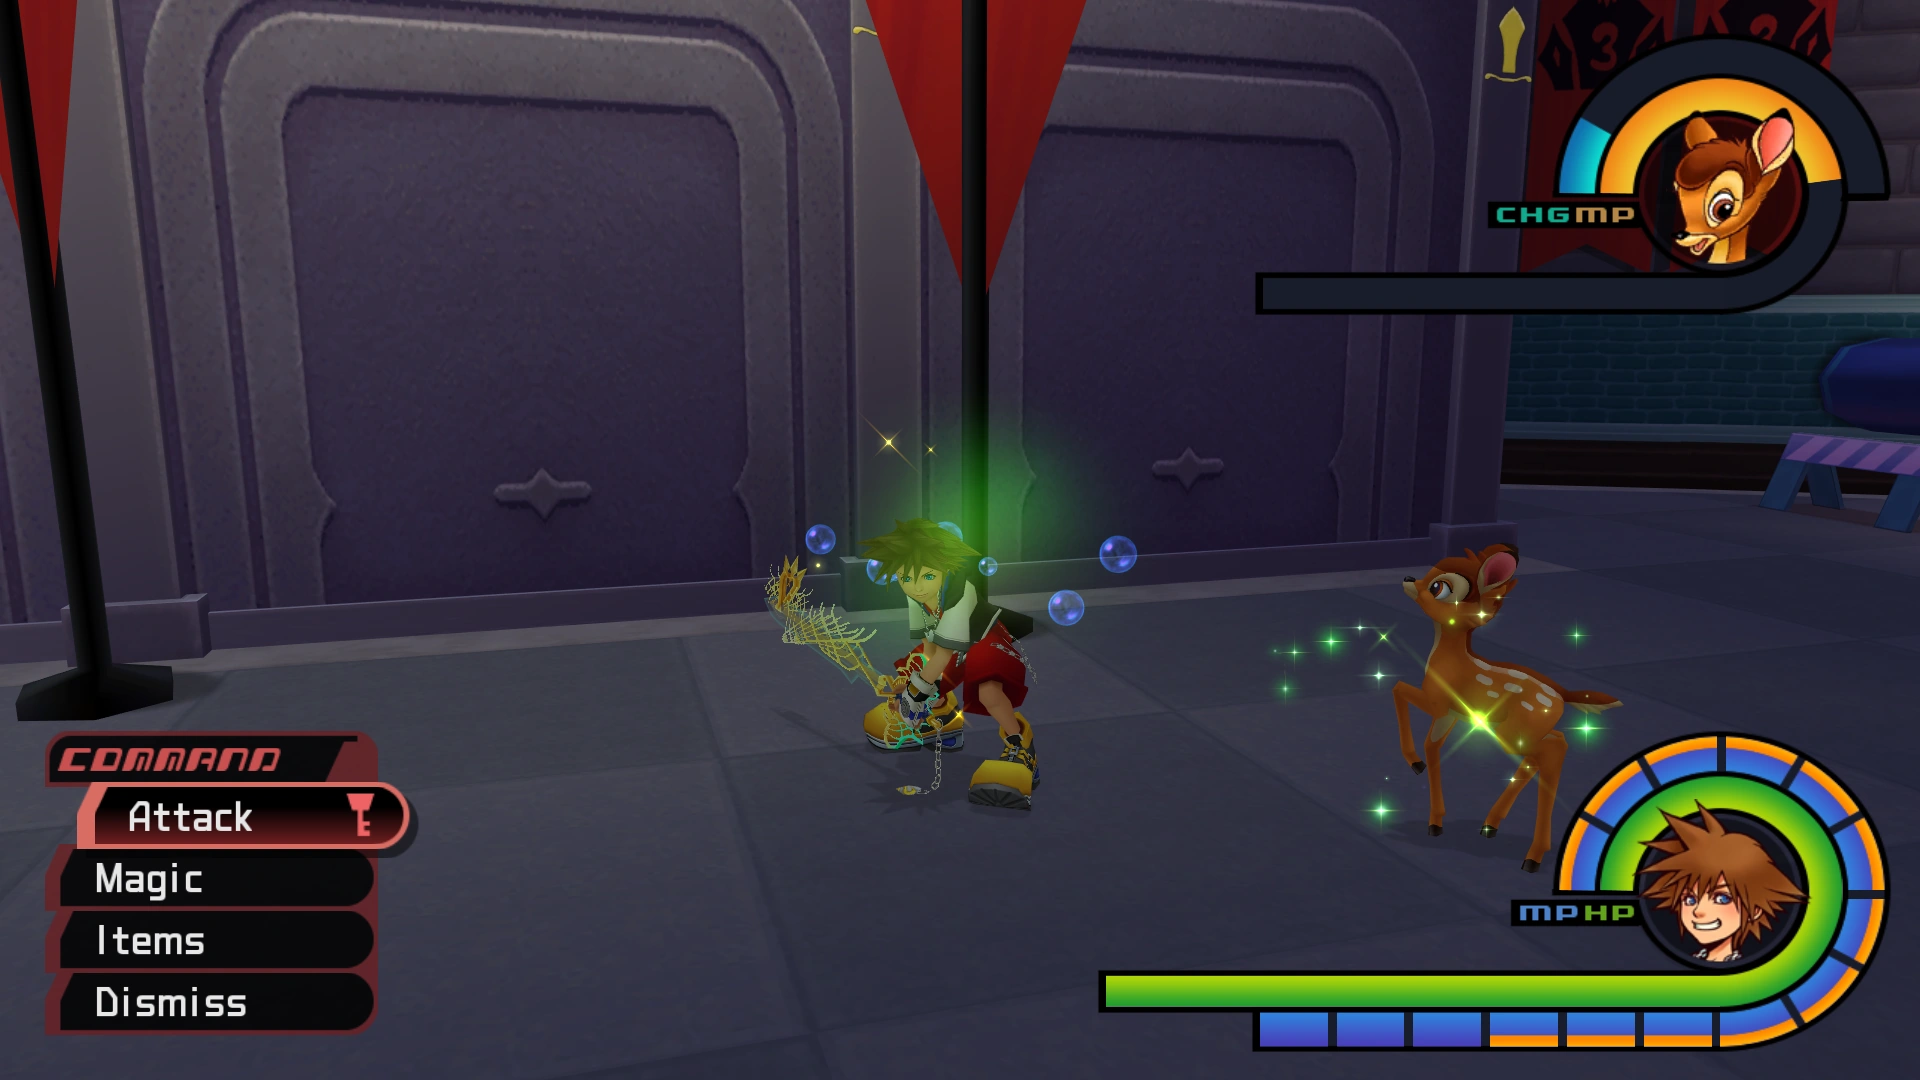
Bambi is an optional summon that is acquired after turning in the Naturespark gem automatically received after completing the Pooh's Hunny Hunt minigame in 100 Acre Wood. He costs only one MP to summon and is the first summon with no offensive capabilities. Instead, Bambi will follow Sora and prance around the area, repeatedly spawning MP orbs for his entire duration. The orbs dropped depend on your max MP, with four or less only generating small orbs, five or six generating both small and large, and seven or more generating only large orbs. Bambi is primarily useful to be able to saturate the enemy under magic spells, making him of limited use against spell-resistant bosses (and enemies). Treasure Magnet is nearly mandatory to be able to continue attacking without having to pick up the orbs all the time.

The Bambi summon.
He also possesses a secondary function through the blue charge gauge, which fills up for each six enemies defeated. Every time it does Bambi will drop a healing item of increasing quality, and for the second and third times he can drop Synthesis materials. Any subsequent filled gauges produce the same result as the third. The synthesis materials are unique to each world, making them a possible avenue to farm them.
Note that the required number of enemies has to be slain in a single area as you cannot move to another while Bambi is still summoned. Due to this the actual number of locations is limited, and also somewhat dependent on whether or not you have already completed Hollow Bastion as this drastically changes all enemy spawns and compositions. Notably End of the World's Linked Worlds area no longer produces enough enemies if you complete it and enter Final Rest.
| World | Area(s) | Items per charge (chance) |
|---|---|---|
| Traverse Town | Second District, Gizmo Shop, Third District | 1st: Hi-Potion (100%) 2nd: Ether (100%), Blaze Shard (40%) 3rd: Mega-Potion (100%), Blaze Shard (60%), Blaze Gem (30%) |
| Wonderland | Bizarre Room, Lotus Forest | 1st: Hi-Potion (100%) 2nd: Ether (100%), Frost Shard (40%) 3rd: Mega-Potion (100%), Frost Shard (60%), Frost Gem (30%) |
| Deep Jungle | Camp, Bamboo Thicket, Cliff, Treehouse | 1st: Hi-Potion (100%) 2nd: Ether (100%), Thunder Shard (40%) 3rd: Mega-Potion (100%), Thunder Shard (60%), Thunder Gem (30%) |
| Agrabah | Desert, Hall, Treasure Room | 1st: Hi-Potion (100%) 2nd: Ether (100%), Bright Shard (40%) 3rd: Mega-Potion (100%), Bright Shard (60%), Bright Gem (30%) |
| Monstro | Chamber 5, Chamber 6 | 1st: Hi-Potion (100%) 2nd: Ether (100%), Lucid Shard (40%) 3rd: Mega-Potion (100%), Lucid Shard (60%), Lucid Gem (30%) |
| Halloween Town | Graveyard, Moonlight Hill, Manor Ruins | 1st: Mega-Potion (100%) 2nd: Mega-Ether (100%), Power Shard (40%) 3rd: Elixir (100%), Power Shard (60%), Power Gem (30%) |
| Neverland | Hold, Captain's Cabin, Pirate Ship | 1st: Mega-Potion (100%) 2nd: Mega-Ether (100%), Spirit Shard (40%) 3rd: Elixir (100%), Spirit Shard (60%), Spirit Gem (30%) |
| Hollow Bastion | Entrance Hall, Grand Crest, Grand Hall | 1st: Mega-Potion (100%) 2nd: Mega-Ether (100%), Lucid Gem (40%) 3rd: Elixir (100%), Lucid Gem (60%), Lucid Crystal (30%) |
| End of the World | Linked Worlds | 1st: Mega-Ether (100%) 2nd: Elixir (100%), Mythril Shard (40%) 3rd: Megalixir (100%), Mythril Shard (60%), Mythril (30%) |
Dumbo[]
The Dumbo summon.
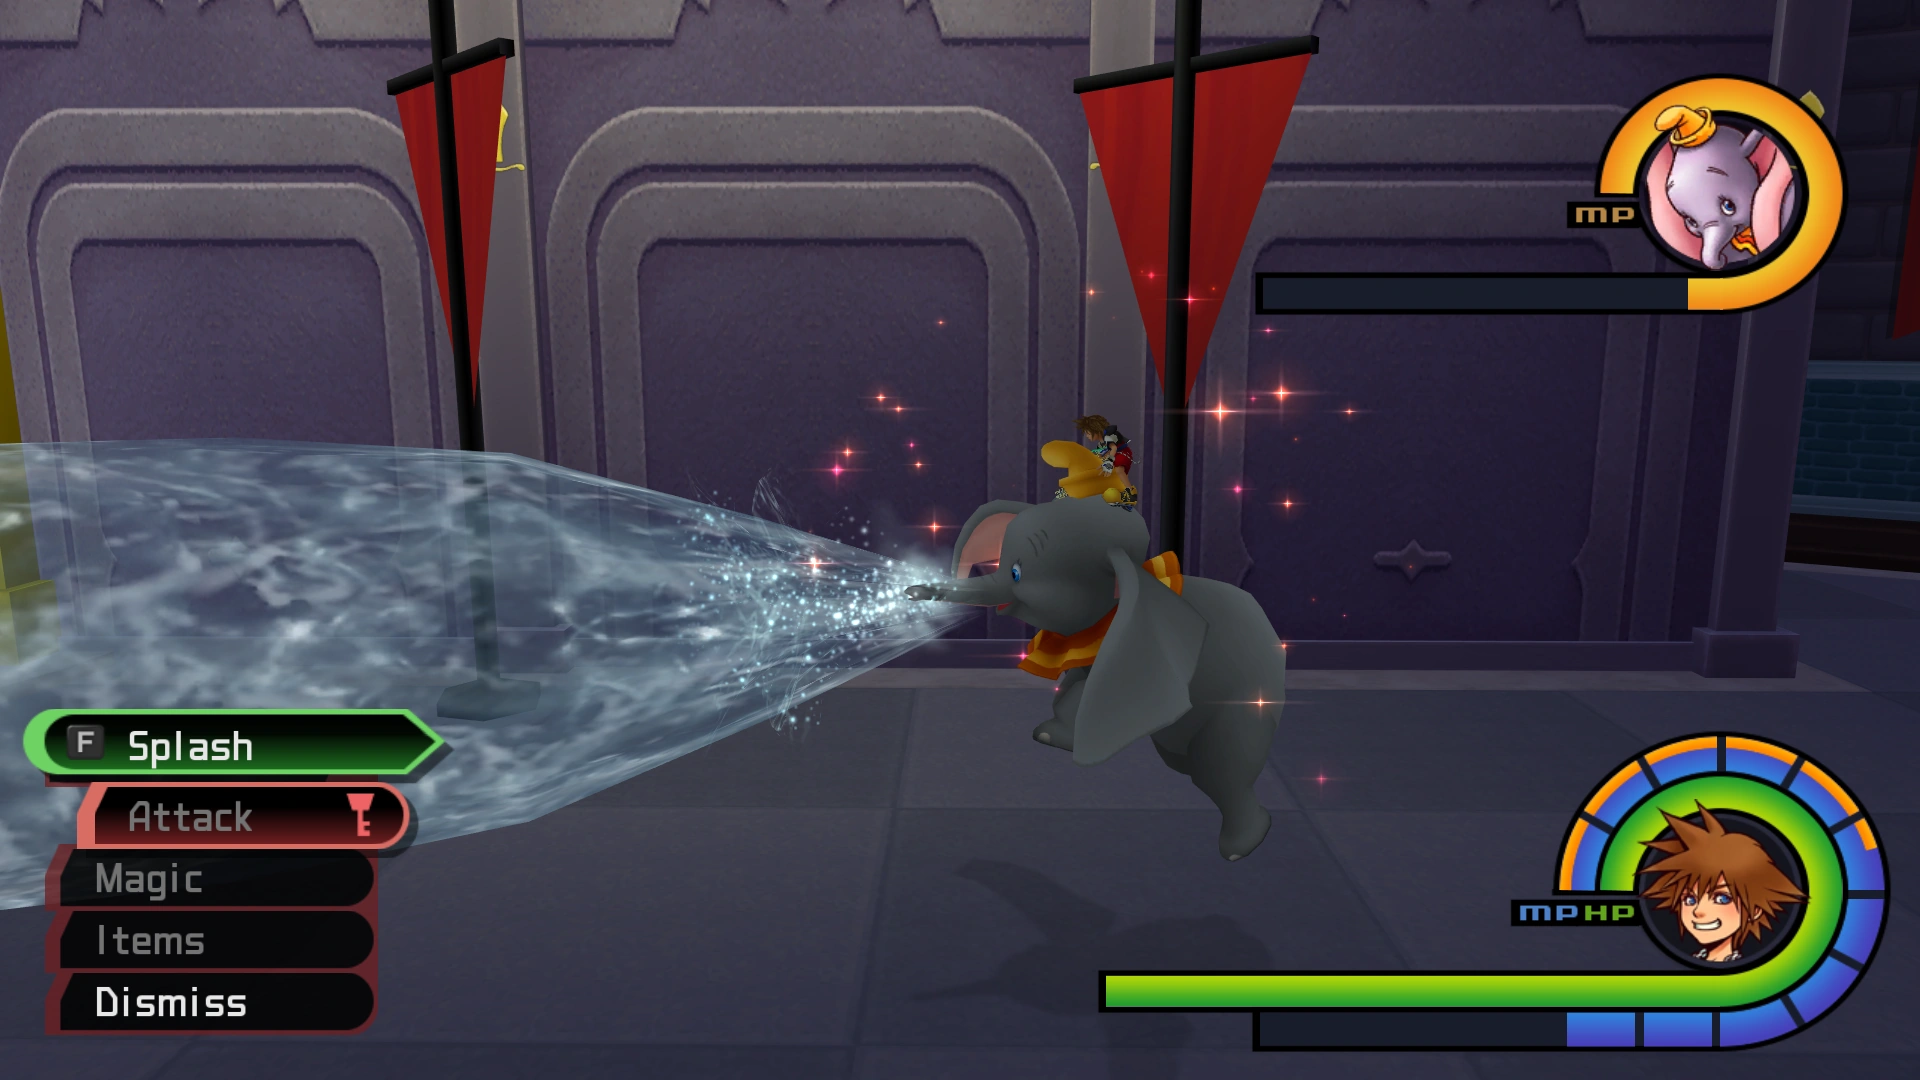
Dumbo is an optional summon acquired by turning in the Watergleam gem that can be found in Monstro's mouth area, after acquiring High Jump (after defeating the Parasite Cage for the first time). He costs three MP to summon and grants you control of Dumbo, while Sora shrinks and resides on Dumbo's head. Dumbo flies and can gain air (around High Jump's height) to hit aerial enemies, which he does through the 'Splash' attack by spouting a blast of water from his trunk. The water has the same elemental property as Blizzard, thus making it rather ineffective against bosses due to their innate resistances.
It deals damage equal to the formula of 8 + (max MP × 2), which is rather low. Attacking does not cost MP however, but instead just drains Dumbo's bar twice as fast. You also do not need to hold the attack button, pressing it once will turn it on until you disable it again. Splash also bypasses defenses like a Defender's shield, and can quickly hit multiple enemies. One benefit to Dumbo is that Sora is invulnerable while he is summoned, but he has little use other than blasting groups of Heartless for free until he dismisses automatically.
Tinkerbell[]

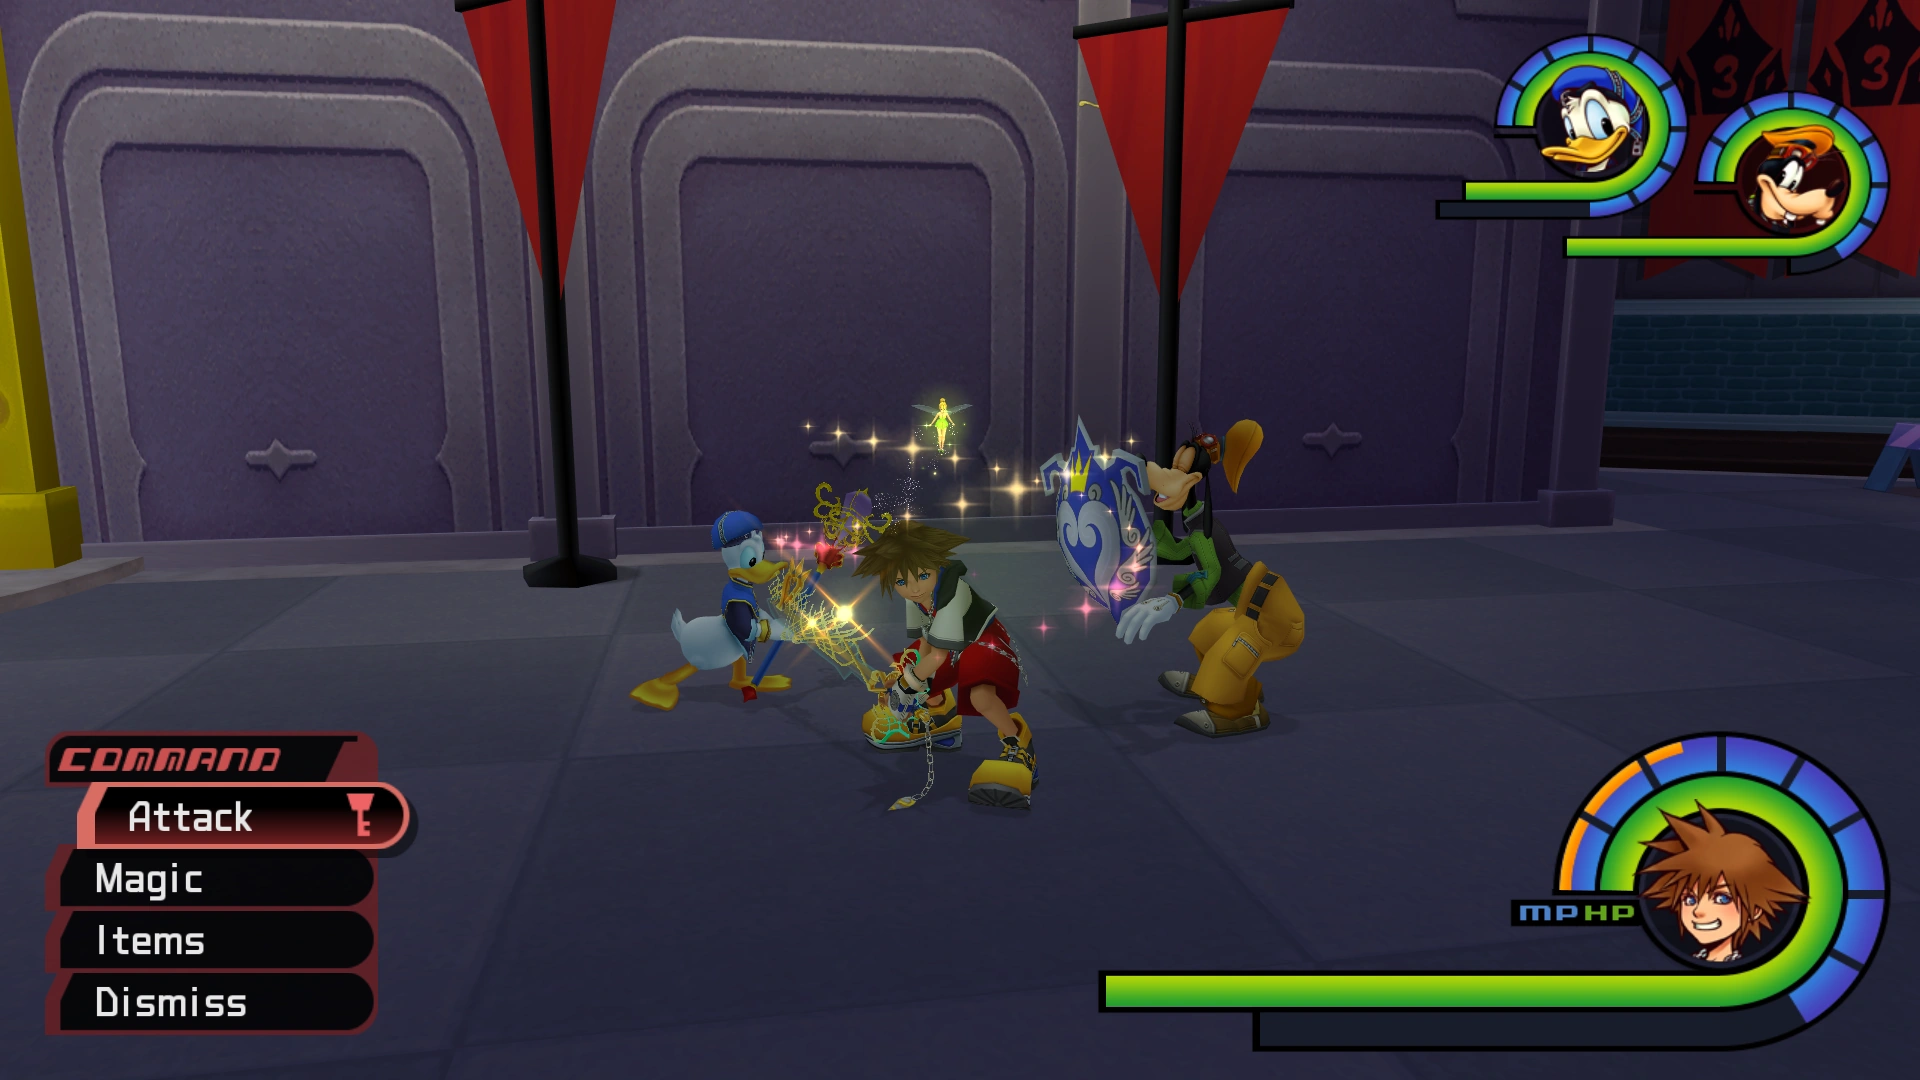
The Tinkerbell summon.
Tinkerbell is the second supportive summoning character acquired, and she joins your party on her own after completing Neverland. She costs three MP to summon and is generally considered to be the most useful thanks to her powerful set of abilities. To start with she is the only summon to not replace any party members, giving you her beneficial powers at no practical cost other than the MP to summon her. Secondly she heals every party member one by one, every two seconds or so, equal to Sora's max MP, ensuring a steady stream of free healing. Lastly, she does this indefinitely until Sora 'dies', at which point she instantly revives him and leaves. Due to her usefulness she is generally considered mandatory against the strongest late-game bosses.
Mushu[]
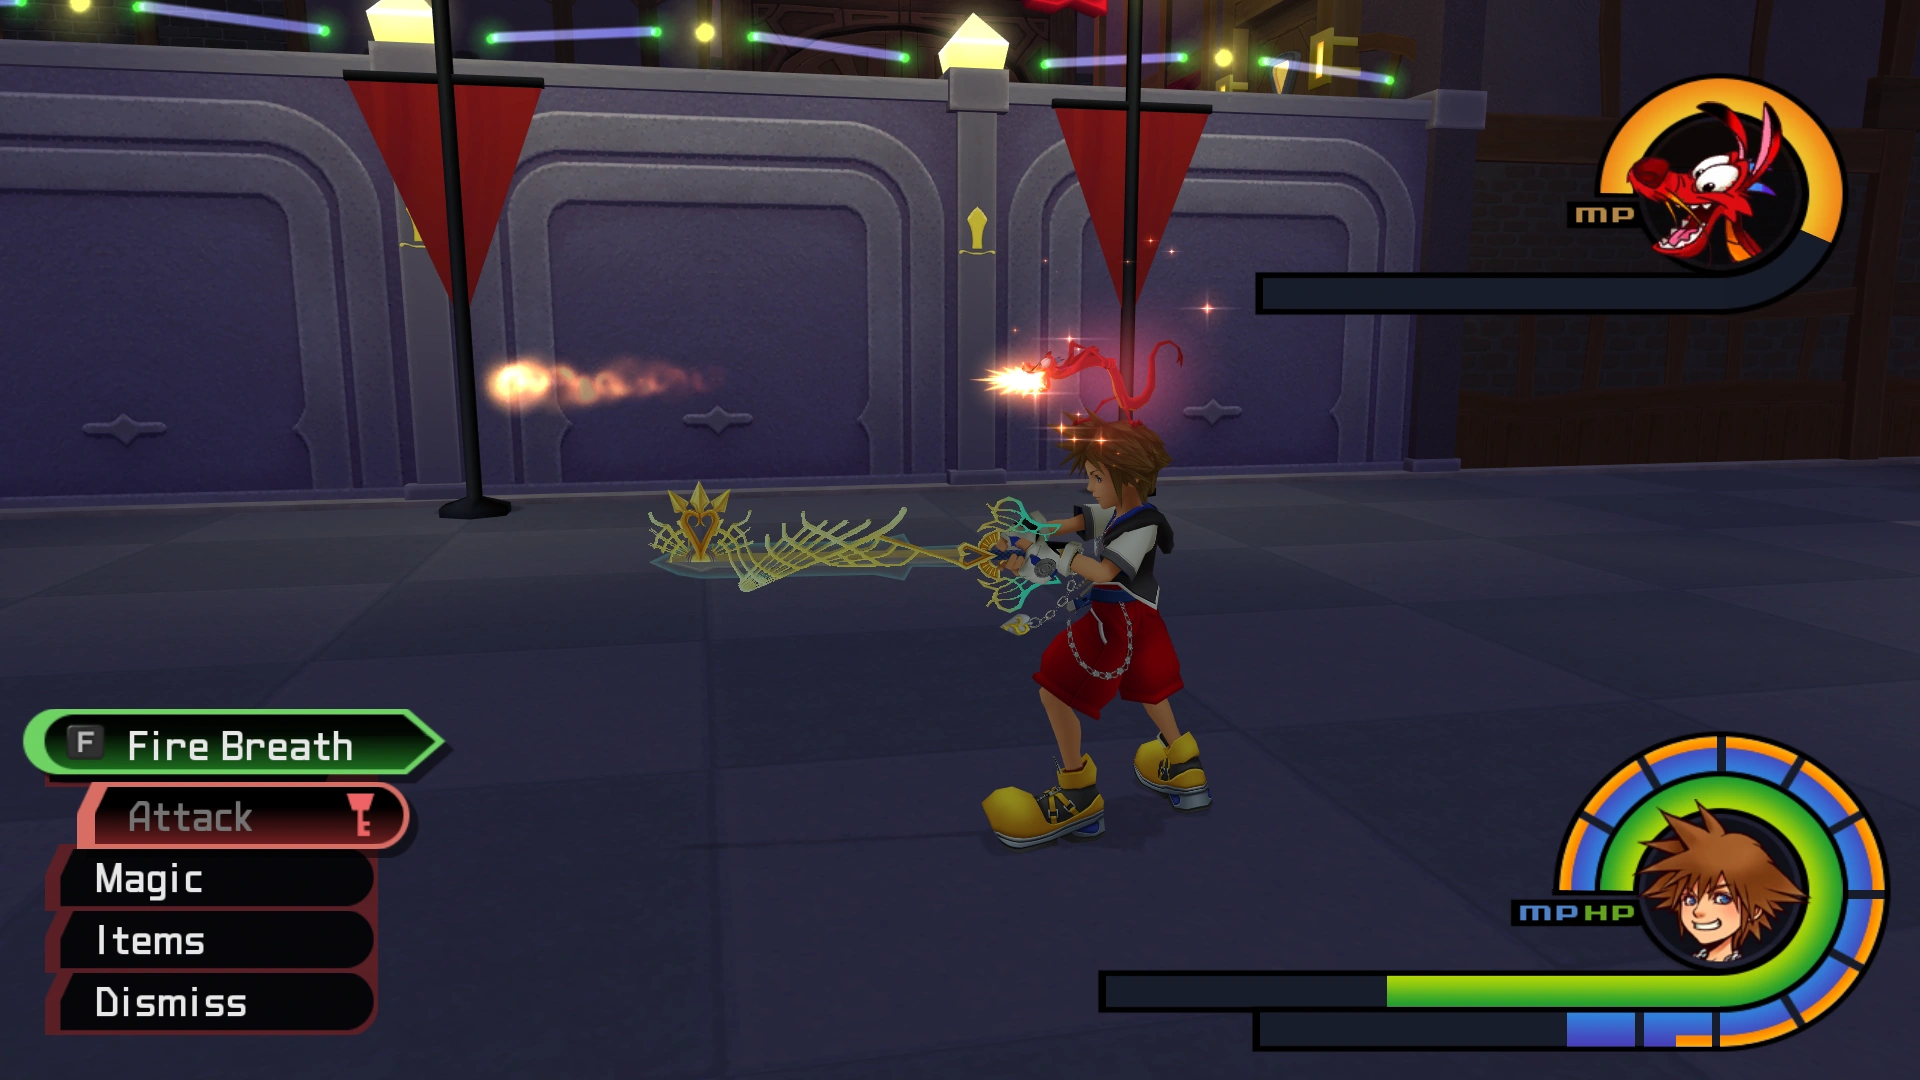
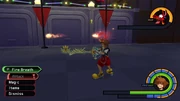
The Mushu summon.
Mushu is the final summon acquired after taking the Fireglow gem dropped by Dragon Maleficent to the Fairy Godmother. He costs three MP to summon and, like Dumbo, is the only other summon to disable Sora's personal attack, instead making you attack enemies through his 'Fire Breath' attack. Like Splash, Fire Breath deals fire elemental damage, making it rather useless against bosses. It also has less damage (4 + (max MP × 2), and cannot hit more than one target at a time, and cannot bypass defenses like the aforementioned Defender's shield. It somewhat makes up for it by presenting a far higher rate of fire, and thus damage output.
Each fireball costs 0.06 MP, which amounts to Mushu's MP draining about twice as fast when the attack is used continuously. The fireballs will arc and attempt to hit moving and aerial enemies, but you do need some distance to accurately hit foes, much like the normal Fire spell. The extra distance also helps in evading enemies, as the attack requires you to stand still.
Behind the scenes[]
The Final Fantasy character Bahamut was also intended to be a summon, per the accessible "Bahamut" option in the Summon sub-menu if the game is edited with a cheat device. Selecting it does nothing however, except crashing the game.[1]